This sekiro beginner guide is a route-based starter guide for Sekiro: Shadows Die Twice, the FromSoftware action game set in Sengoku-era Japan. It focuses on the skills that carry the whole game: deflecting instead of dodging, breaking posture, training with Hanbei, choosing prosthetics wisely, and managing Dragonrot.
Contents
- What Makes Sekiro Different
- Learn to Deflect, Not Dodge
- Understand Posture, Vitality and Deathblows
- Train With Hanbei Before You Explore Far
- Your First Prosthetic Priorities
- Grappling, Stealth and Smart Routes
- Dragonrot, Resurrection and When to Rest
- A Simple Starter Route and Checklist
- Frequently Asked Questions
What Makes Sekiro Different
SUMMARY: Sekiro is not a stamina-based Souls game with a different skin; it is a posture-based duel game where standing your ground and deflecting wins fights, so unlearning dodge-first habits is the fastest way to improve.
Sekiro has no stamina bar, no character classes, and no multiplayer summons to lean on. You play one character, Wolf, with a katana, a prosthetic arm, and a grappling hook. Combat rewards rhythm, timing, and reading an enemy, rather than rolling away and waiting for a safe opening. Many new players struggle because they bring habits from other action games: they dodge backwards, spam attacks, and panic when an enemy keeps attacking.
The official Sekiro: Shadows Die Twice site presents the game as a single-player shinobi story, and that focus matters. Progress comes from learning encounters, not from grinding levels. Skill points and prosthetic upgrades help, but they do not replace timing.
Learn to Deflect, Not Dodge
SUMMARY: Deflecting is Sekiro’s core skill: press block just before an enemy strike lands, and you will reduce damage, build enemy posture, and often open them up for a counterattack.
Blocking is done by holding the guard button, while deflecting is a timed tap just before impact. A successful deflect makes a sharp metallic sound and throws off bright sparks, while a sloppy block still protects Wolf but builds his own posture and can leave him staggered. Dodging still has a place, especially against grabs and some sweeping attacks, but it should not be your default response.
- Tap guard as the weapon is about to hit, not when the enemy starts to swing.
- Stay close after a deflect; many enemies pause briefly and can be attacked.
- Do not mash guard. Clean, single taps build posture faster and waste less effort.
- If your posture bar is nearly full, back off for a moment and let it recover, then re-engage.
Understand Posture, Vitality and Deathblows
SUMMARY: Most enemies die by posture, not by health alone: fill their posture bar and you get a Deathblow, while lowering their Vitality first makes their posture recover much more slowly.
Every enemy has Vitality (health) and Posture. Vitality damage comes from direct hits, while posture damage comes from deflects, blocks, and attacks. When posture is full, a red dot appears and you can perform a Deathblow, which usually kills a normal enemy outright. Bosses and mini-bosses often have two or more Deathblow marks, so you must repeat the process.
| Mechanic | What it does | Beginner tip |
|---|---|---|
| Posture | Fills when an enemy is attacked or deflected | Keep pressure on; do not let it drain away |
| Vitality | Health; lower Vitality slows posture recovery | Chip away at health first on tough enemies |
| Deathblow | Finishing move when posture is full | Watch for the red dot and press attack promptly |
| Perilous Attack | Unblockable attack, marked by a red kanji | Jump, dodge, or Mikiri Counter depending on the type |
Perilous Attacks deserve special attention. A red kanji warning means the attack cannot be blocked. Thrusts can be countered with the Mikiri Counter skill, sweeps should be jumped over, and grabs must be dodged.
Train With Hanbei Before You Explore Far
SUMMARY: Hanbei the Undying, found at the Dilapidated Temple, offers free, repeatable training in deflecting, Mikiri Counter, and other basics, so use him before tackling difficult areas.
Early in the game you will meet the Sculptor at the Dilapidated Temple, which also serves as a hub with a Sculptor’s Idol for travel and rest. Nearby, Hanbei the Undying offers training. Because he cannot truly die, he is the ideal sparring partner: you can practise deflect timing, countering thrusts, and jumping sweeps without losing Sen or experience in a real fight.
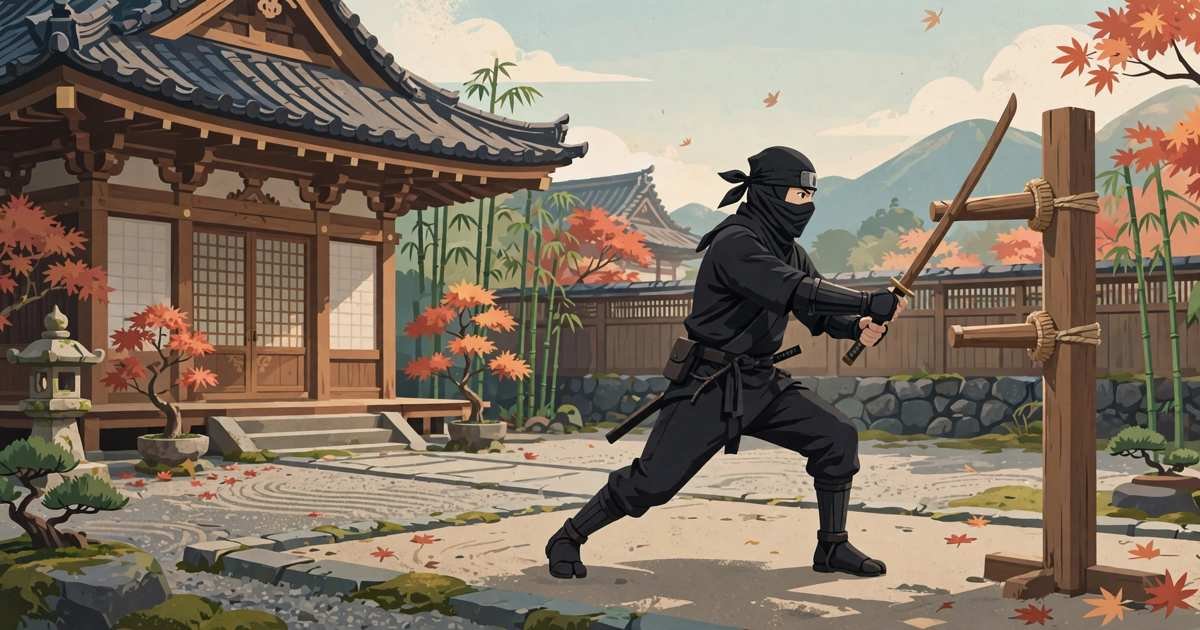
Do not rush past this training. Spend a few minutes on each lesson, especially the deflect and Mikiri Counter lessons, until the timing feels familiar. Then test the same timing on a weak enemy in Ashina Outskirts. Return to Hanbei whenever a new skill or a new enemy type confuses you; the lessons are repeatable and cost nothing.
Your First Prosthetic Priorities
SUMMARY: Start with the Loaded Shuriken for interrupting enemies and closing distance, then add the Loaded Axe for shields and posture damage, and save rarer tools until you understand when each one is useful.
Wolf’s prosthetic arm can hold several tools, and each one uses Spirit Emblems. New players often collect every tool and then run out of emblems at the worst moment. A smaller, well-understood set is better. The table below gives a sensible early order, based on how often each tool helps in ordinary fights.
| Prosthetic tool | Best early use | Priority |
|---|---|---|
| Loaded Shuriken | Interrupt enemies, hit distant foes, chase a fleeing enemy | First |
| Loaded Axe | Break shields and deal heavy posture damage | Second |
| Flame Vent | Scare beasts, add fire damage, create openings | Third |
| Firecrackers | Stun beasts and some enemies briefly | Useful extra |
Carry emblems, but do not depend on prosthetics for every fight. Use a tool to solve a specific problem, such as a shielded enemy or a beast that will not stop charging, and then return to swordplay.
Grappling, Stealth and Smart Routes
SUMMARY: Sekiro rewards routes, not frontal assaults: use the grappling hook to reach rooftops, use stealth to remove one enemy at a time, and use Sculptor’s Idols as safe route checkpoints.
Wolf’s grappling hook changes how you should approach an area. If a courtyard looks crowded, look up. Rooftops, branches, and ledges often lead to a safer path, a single enemy you can Deathblow from above, or an Idol you can unlock before a hard fight. Stealth works the same way: crouch, stay out of sight lines, and take a Deathblow on an isolated enemy instead of fighting a whole group at once.
- Unlock every Sculptor’s Idol you pass; they are fast-travel points and rest spots.
- Clear enemies one at a time, starting with the ones that can spot you from a distance.
- Use eavesdropping when the game offers it; it often explains a route or an enemy weakness.
- If a fight goes wrong, retreat to a cleared area, rest, and try a different approach.
Dragonrot, Resurrection and When to Rest
SUMMARY: Resurrection lets Wolf get up once after a fatal blow, but repeated deaths can spread Dragonrot, so rest at Idols to recover and use resurrection as a second chance, not as a plan.
Wolf can resurrect after dying, subject to a resurrection charge, and can sometimes resurrect a second time after landing a Deathblow. Repeated deaths can cause Dragonrot, a sickness that affects certain non-player characters and reduces the chance of receiving Unseen Aid, a benefit that sometimes protects Sen and experience on death. Dragonrot can be cured later with a specific item, so it is a setback, not a permanent failure.
Resting at a Sculptor’s Idol restores Vitality, prosthetic tools, and resurrection charges, but it also respawns most normal enemies. Rest when you need to recover, when you have unlocked a new Idol, or when you want to reset an area for a cleaner stealth approach.
A Simple Starter Route and Checklist
SUMMARY: Follow a simple loop early on: learn deflecting at the temple, clear Ashina Outskirts carefully, unlock Idols, upgrade one or two prosthetics, and only then push into harder areas.
Use this checklist as a rough route, not as a strict order, and adapt it if you find a safer path:
- Complete Hanbei’s basic training at the Dilapidated Temple.
- Explore Ashina Outskirts slowly, using stealth and rooftops.
- Unlock the first Sculptor’s Idols and talk to characters you meet.
- Equip the Loaded Shuriken, then the Loaded Axe, and practise each one.
- Learn Mikiri Counter and practise it on thrusting enemies.
- Rest, upgrade, and return to any area that felt too hard after a short break.
For more beginner guides in the same style, see our Civilization 6 Beginner Guide, Crusader Kings 3 Beginner Guide, and Satisfactory Beginner Guide, and return to the GameCresta homepage for the latest guides. For official information about the game, visit the official Sekiro site and FromSoftware’s official site.
Frequently Asked Questions
SUMMARY: These answers cover the most common beginner questions about deflecting, difficulty, prosthetics, Dragonrot, and how Sekiro differs from other FromSoftware games.
Is Sekiro harder than Dark Souls 3?
Sekiro feels harder at first for players who dodge constantly, because its combat system is different, not simply more punishing. It has no stamina bar and no Souls-style levelling, so progress depends on deflect timing and posture management rather than on character stats.
Should beginners deflect or dodge in Sekiro?
Beginners should prioritise deflecting. Dodging is useful against grabs and some sweeps, but deflecting builds enemy posture, reduces damage, and keeps Wolf in range to counterattack. Practise deflecting with Hanbei first, then use dodging as a specific answer to specific attacks.
What is the best first prosthetic tool in Sekiro?
The Loaded Shuriken is a strong first choice because it is cheap to use, interrupts enemies, and helps against distant or fleeing foes. The Loaded Axe is a good second choice for shielded enemies and heavy posture damage.
What does Dragonrot do in Sekiro?
Dragonrot is a sickness that can spread to certain characters after repeated deaths, and it reduces the chance of Unseen Aid, which sometimes protects Sen and experience when Wolf dies. It can be cured later in the game, so it should not stop you from exploring.
How do I beat the first bosses in Sekiro?
Focus on deflecting their normal attacks, watch for the red kanji that signals a Perilous Attack, and use the correct counter for thrusts, sweeps, and grabs. Lower their Vitality with short attacks when you have an opening, keep pressure on their posture, and take the Deathblow when the red dot appears.
Can I play Sekiro without stealth?
You can fight openly, but stealth makes the early game much easier. Stealth lets you remove isolated enemies with a Deathblow, scout an area from rooftops, and avoid fighting several enemies at once.
For More Updates Visits : GAME CRESTA