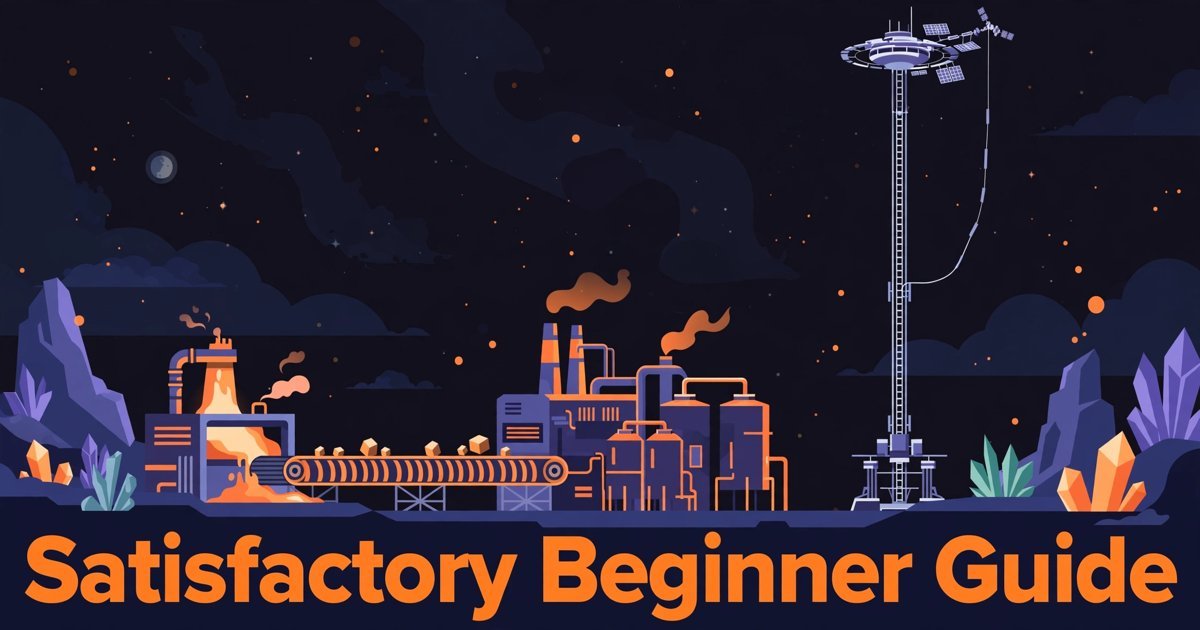
This satisfactory beginner guide covers the first steps that matter most in Satisfactory 1.0: where to land, how the HUB works, how to automate your first iron line, and how to keep the lights on with biomass power. It is written for a new pioneer who wants a working factory, not a perfect one, and it focuses on the Grass Fields starting area, the early HUB milestones, and the Miner to Smelter to Constructor chain.
If you have played another factory game, some of this will feel familiar, but Satisfactory is three-dimensional and first-person, and much more forgiving about space. You can walk around your factory, climb it, and rebuild it. The goal of the early game is simple: stop hand-crafting everything, automate iron parts, and use the HUB to unlock better buildings and power options.
Contents
- Choose Grass Fields as Your First Landing Zone
- Complete the HUB and Its First Milestones
- Build the Miner to Smelter to Constructor Chain
- Power Your First Factory With Biomass
- Expand Without Turning Your Base Into Spaghetti
- Avoid These Common Beginner Mistakes
- What to Do After Your First Automated Line
- Frequently Asked Questions
Choose Grass Fields as Your First Landing Zone
SUMMARY: Grass Fields is the most beginner-friendly starting area in Satisfactory 1.0 because it offers flat ground, nearby iron and limestone, and plenty of biomass for early power.
When you start a new game, Satisfactory offers several landing zones. Grass Fields is the usual recommendation for a first run because the terrain is open and forgiving. You can lay straight belts, leave room for later buildings, and still find the resources you need without a long walk. Other areas can be flatter in places or richer in one resource, but they often demand more climbing, more combat, or more planning before your first factory works.
Do not spend your first hour searching for a perfect spot. Pick a place near iron nodes, with limestone reasonably close, and with trees and plants nearby for biomass fuel. A small hill or a flat clearing next to a node is enough. You can always build a second base later, and moving a small early factory is far easier than moving a large one.
- Stay close to at least one iron node and one limestone node.
- Leave open ground in front of your buildings for belts and power poles.
- Keep trees and bushes nearby, because you will need leaves and wood for biomass burners.
- Build near your HUB so you can deliver milestone parts without a long trip.
Complete the HUB and Its First Milestones
SUMMARY: The HUB is your early base and upgrade system, and its milestones unlock the buildings, belts, and power options that turn hand-crafting into automation.
Your HUB is the large structure you start beside. It contains the Craft Bench, the HUB Terminal, and storage for the parts you need to complete milestones. Open the HUB Terminal to see exactly which parts each milestone requires, then make or automate those parts and deliver them there. The game will tell you what you have unlocked, so you do not need to guess or memorize a list before you play.
Early milestones focus on iron parts, basic logistics, and power. That is why the first automated line in this guide is so important: once iron plates and iron rods flow into a container on their own, you can collect them, deliver them to the HUB, and unlock the next tier instead of standing at a Craft Bench. If a milestone seems slow, check the terminal first. It is usually one part type holding you back, not the whole factory.
| Early HUB goal | What it gives you | Beginner tip |
|---|---|---|
| First iron milestones | Basic smelting, construction, and logistics parts | Automate iron plates and rods before you push further. |
| Logistics upgrades | Better belts, poles, and organization tools | Upgrade belts only where a line is actually backing up. |
| Power milestones | Biomass burners and stronger power options | Keep spare fuel beside every burner. |
| Later early tiers | New materials, miners, and factory buildings | Read each unlock in the terminal before rebuilding. |
For the official overview of the game and its updates, see the official Satisfactory website. If you want another factory game to compare ideas with, our Factorio Beginner Guide covers a similar first-factory mindset in a top-down game.
Build the Miner to Smelter to Constructor Chain
SUMMARY: Place a Miner on an iron node, belt the ore to a Smelter, then belt the ingots to a Constructor, so iron plates or rods are made without hand-crafting.
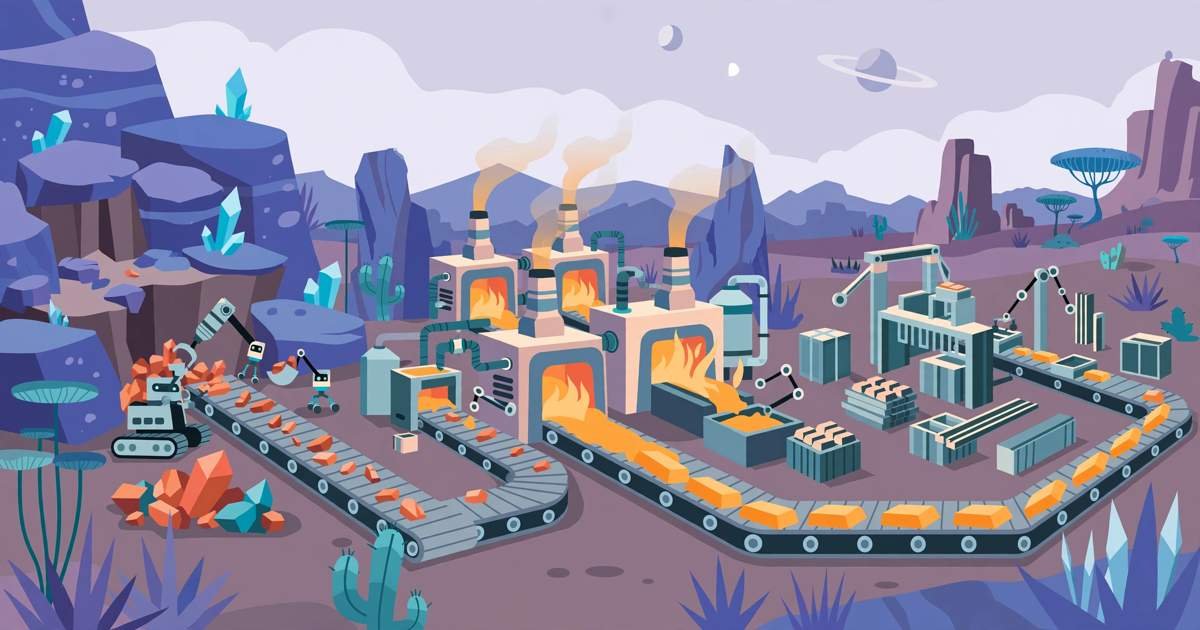
This chain is the heart of the satisfactory beginner guide. A Miner sits on a resource node and pulls ore out automatically. A conveyor belt carries that ore to a Smelter, which turns ore into ingots. Another belt carries ingots to a Constructor, which turns ingots into a useful part such as iron plates or iron rods. When the chain is powered and the output has somewhere to go, it keeps working while you explore, gather biomass, or build the next line.
| Step | Building | What it does |
|---|---|---|
| 1 | Miner | Extracts iron ore from a node automatically. |
| 2 | Smelter | Turns iron ore into iron ingots. |
| 3 | Constructor | Turns iron ingots into iron plates or iron rods. |
| 4 | Storage container | Collects the finished parts so belts do not back up. |
Start with one simple line, not three at once. Choose iron plates first if you need building material, or iron rods first if a HUB milestone asks for them. Check the recipe in the building menu before you connect belts, because a Constructor makes only one recipe at a time. If you later need both plates and rods, build a second Constructor and split the ingot belt, rather than constantly changing one machine.
- Put the Miner directly on the node and check that ore is flowing before adding more buildings.
- Keep belts short and straight while you are learning; long, crossing belts are harder to debug.
- Always end a line in a storage container, or the whole chain will stop when output backs up.
- Plan by product: one line for plates, one line for rods, and so on.
Power Your First Factory With Biomass
SUMMARY: Biomass burners run on leaves, wood, and later solid biofuel, so gather fuel early, connect buildings with power poles, and never let total demand pass total supply.
Every Miner, Smelter, and Constructor needs power. In the early game that power comes from Biomass Burners. Gather leaves and wood from plants and trees, put fuel in the burner, and connect the burner to your buildings with power lines and power poles. One burner can support a small early line, but as soon as you add more machines you will need more burners, more fuel, or both.
The most common early power failure is not a broken building. It is a grid that trips because demand is higher than supply. When that happens, everything stops at once. Fix it by adding another fueled burner before you reconnect the grid, and by keeping fuel stocked. Later you can turn biomass into solid biofuel, which is a more compact fuel, but the habit matters more than the fuel type: check fuel, check capacity, and only then expand.
- Collect biomass whenever you pass plants and trees, not only when a burner runs empty.
- Place burners close together so refueling is quick.
- Use power poles to branch power cleanly instead of daisy-chaining every building.
- If the grid trips, add capacity first, then switch machines back on one line at a time.
Expand Without Turning Your Base Into Spaghetti
SUMMARY: Expand in straight, repeatable lines with space between buildings, so new machines, belts, and power lines fit without rebuilding the whole base.
A beginner factory does not need to look beautiful, but it does need room. Leave at least a belt-width of space beside each building, keep input belts on one side and output belts on the other where possible, and build in a straight row when you repeat a line. This makes it easy to see which belt feeds which machine, and it makes a faulty line obvious at a glance.
Think in modules. One module makes one product. When you need more of that product, copy the module beside the first one instead of squeezing extra machines into gaps. Foundations help here: a flat platform removes terrain problems, keeps belts level, and gives you a clean place to add power poles. You do not need a huge platform on day one, but even a small one under your first iron line will save rebuilding later.
Avoid These Common Beginner Mistakes
SUMMARY: Most early stalls come from backed-up outputs, an overloaded power grid, or hand-crafting for too long, and all three can be fixed with storage, extra burners, and one automated line at a time.
- Forgetting storage: a full belt stops the Miner, Smelter, and Constructor behind it.
- Overloading power: adding machines without adding burners trips the whole grid.
- Hand-crafting everything: use the Craft Bench for early parts, then automate as soon as a recipe is unlocked.
- Building too close together: tight bases look tidy at first, then block every expansion.
- Chasing every unlock at once: finish one HUB milestone, use its buildings, and then move on.
If your factory stops, work backwards. Is the output container full? Is a belt disconnected? Is a burner out of fuel? Is the power grid overloaded? In most early cases, one of those four checks finds the problem in under a minute, and you do not need to rebuild the line to fix it.
What to Do After Your First Automated Line
SUMMARY: After iron plates or rods run on their own, duplicate the line for the other iron part, add limestone and concrete, and use HUB milestones to unlock the next materials.
Once your first line runs without constant attention, you have passed the hardest early step. Duplicate it for the other iron product, then look at limestone. Concrete, made from limestone in a Constructor, is useful for foundations and later building, and it follows the same simple production logic you have just learned. From there, follow the HUB Terminal: it will guide you toward copper, new recipes, and better logistics in a sensible order.
- Build a second iron line instead of overloading the first one.
- Add a limestone and concrete line on a separate, simple belt path.
- Keep exploring in short trips, and return to refuel burners and collect parts.
- Note which line makes which part, so later expansions stay organized.
Satisfactory rewards steady expansion more than speed. A small factory that never stops is better than a large factory that constantly trips its power or backs up. If you want a different style of strategy guide after this one, our Crusader Kings 3 Beginner Guide is a useful contrast, while the Satisfactory Steam page is the place to check the game’s current edition and system details.
Frequently Asked Questions
What is the best starting area in Satisfactory for beginners?
Grass Fields is the best starting area for most beginners because it is flat, open, and close to iron, limestone, and biomass. It makes early belts, buildings, and power lines easier to lay out than steeper or more crowded areas.
How does the HUB work in Satisfactory?
The HUB is your starting base and upgrade hub. You deliver the parts listed in the HUB Terminal, and each completed milestone unlocks new buildings, recipes, belts, or power options for your factory.
What should I automate first in Satisfactory?
Automate iron first. A Miner feeding a Smelter, which feeds a Constructor, gives you iron plates or iron rods without hand-crafting, and those parts feed early HUB milestones and basic construction.
How do I power my factory in the early game?
Use Biomass Burners fueled with leaves and wood, connect them to your buildings with power poles and power lines, and add more burners before total power demand passes total supply. Keep spare fuel beside each burner.
Why did my Satisfactory factory stop working?
Check four things in order: a full output container, a disconnected or wrongly connected belt, an empty Biomass Burner, and an overloaded power grid. One of those causes most early stoppages.
Should I build on foundations as a beginner?
Yes, when you can. Foundations flatten uneven ground, keep belts level, and leave clean space for power poles and future machines. Start with a small platform under your first iron line and expand it as your factory grows.
For More Updates Visits : GAME CRESTA



2 Responses